A Christmas recipe at last!
This one took a while, not just because I was trying to perfect the texture and flavor, but also because I was searching for the most photogenic add-ins. Sadly, all of the mint options lose their color to some degree during baking. Fortunately, all of them are exceptional in these biscotti. Though Matt has thoroughly enjoyed each experimental batch, he really likes the mint M&Ms version. (Me too. They contain the most chocolate!)

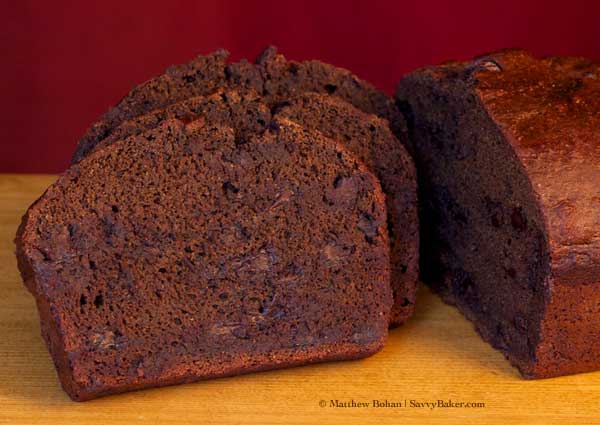
Chocolate Peppermint Biscotti
Makes 24 biscotti (including end pieces)
2 1/2 cups 50/50 flour*
1/2 cup cocoa
2 teaspoons baking powder
1/8 teaspoon salt
4 large eggs
3/4 cup sugar
1/2 teaspoon peppermint extract
1/2 cup mini chocolate chips
1/2 cup Andes® Peppermint Crunch Baking Chips, M&Ms® Mint Chocolate Candies, Andes® Crème de Menthe Baking Chips or Andes® Crème de Menthe Thins, chopped
1 tablespoon powdered sugar (optional)
* You can buy this off the shelf, but I use a less-expensive homemade mix of all-purpose and whole wheat flour. If you don’t have a mix ready, use 1 1/4 cups each of all-purpose and whole wheat flour for this recipe.
Preheat oven to 350°F. Cover a large baking sheet with parchment paper or a Silpat mat.
- In a medium bowl, whisk together first four ingredients: flour, cocoa, baking powder and salt.
- Combine eggs, sugar and peppermint extract in the bowl of an electric mixer and blend on medium-high speed for 2 minutes.
- Add flour mixture to wet ingredients and blend until dough starts to pull together.
- Add chocolate chips and mint chips (or pieces), mixing until they are fully incorporated. Dough will be stiff.
- Turn dough out onto Silpat mat or a work surface dusted with flour.
- Using moistened (for Silpat only) or lightly floured hands, shape into a log 16 inches long, 3 1/2 inches wide and 1 inch thick.
- Sprinkle with powdered sugar, if desired.
- Bake on prepared pan for 30 minutes.
- Remove from oven and cool for 10 minutes. Reduce oven temperature to 325° F.
- Carefully transfer log to cutting board, and using a thin bread knife, cut horizontally into about 24 half-inch slices.
- Place slices upright on the mat or pan, spacing them about 1/2 inch apart.
- Bake 16 minutes at 325° F.
- Transfer to wire racks to cool.
Store in an airtight container at room temperature for 5-7 days. To extend storage time, freeze in an airtight container immediately after cooling.
© Liesl K. Bohan | SavvyBaker.com


[…] All the best to you and yours for a wonderful holiday weekend!DIY Felt OrnamentsLEGO Nativity SceneChocolate Peppermint BiscottiPeanut Butter Party Biscotti© Liesl K. Bohan | TipsnTidbits.comRelated Posts:LEGO Nativity […]
[…] Chocolate Peppermint Biscotti […]
Not sure what I did but they came out too dry. Followed directions to letter and mine when I cut were falling apart. I put a second batch in oven lets hope those come out better. I am not a baker so I did follow directions. I used half wheat and regular flour like recipe calls for could wheat been too heavy? They taste great but was going to dip in chocolate and cant. Robin
Hi Robin,
I’m really sorry to hear that these were dry. I suspect the eggs are the problem: for some of my early recipes, I used fresh eggs instead of store-bought, failing to recognize that the fresh ones were larger and might throw off the measurements. I’ll try again using 4 store-bought eggs. If that works, I’ll update this post accordingly. (If not, I’ll go back to 3 eggs and reduce the flour to 2 1/4 cups.)
Thanks for letting me know about your challenges with this recipe. I hope your second batch held together well enough for dipping. 🙂
Happy holidays,
Liesl
Hello again, Robin — I made these last night using store-bought eggs, and 4 worked perfectly, so I adjusted the post accordingly. Thanks again for calling this to my attention, and my apologies for inadvertently causing frustration in your kitchen this weekend. – Liesl